If I had to describe Lambir Hills National Park, my best assessment of it is that it’s a great adventure destination for people who aren’t that adventurous. It’s relatively safe here thanks to the well-marked trails and the fact that it’s close to an urban area (Miri in Sarawak). I managed to visit the place recently and boy did I have an experience worth sharing.

Lambir Hills National Park: A Trek Through a Well-Preserved Tropical Jungle
This is what you’ll see upon entering Lambir Hills National Park. Reaching here is relatively easy if you have a car since the entrance to the park is literally by the Miri-Bintulu Highway. If I remember correctly, there are also buses that can drop you off opposite the park’s headquarters (which you can see in the image above).

This is a poster that you’ll see in the park headquarters showcasing the various national parks that can be found here in Sarawak. In total there are 11 shown here but did you know that Sarawak actually has even more than that number? Believe it or not, the state actually has a whopping 30 national parks!

Anyway, here are the facilities and buildings that you’ll find here in the headquarters. In a little while I’ll be going to that bulletin board over there to check on a couple of things.

While heading to the bulletin board, I came across this sign reminding visitors to bring shoes. Now this has to be said, this is not a mere reminder. This is compulsory and it’s really for your own good. Remember, this is a rainforest area and it’s going to be humid and wet thanks to the high levels of moisture. This is the kind of environment leeches love and trust me, you don’t want these vermin anywhere near your feet.

Anyway, enough talking about leeches. Let’s check out this trail map of Lambir Hills National Park. So what’s going to happen is we’re going to go up the Main Trail up to Latak Waterfalls and then head on over to Bukit Pantu to cap off the hike. After that we can then go down to park HQ through the Inoue trail. Sounds like a plan, right?

Right next to the trail map is a map laying out the facilities here in Lambir National Park. As you can see, there’s a camping site here as well as some chalets if you want to stay the night.

Along with the maps is this sign that features the rules and regulations that you’re going to want to follow if you don’t want to pay RM10000 to go along with a year’s stay in jail. So you really would need to avoid littering, vandalizing, and bringing explosives/weapons to the park. If you follow these then you’re pretty much golden.

After a final check on my bag (for water and food), I then set out together with some companions through the Main Trail. I will say, this place was amazing and the sunlight filtering through the trees here really reminded me of a word I came across during my Japan travels: komorebi.

If you’re going to go through the same route that I outlined earlier, then I would really suggest that you come here early in the morning. I was told that it would take a while and by being early, you don’t run the risk of still being in the trail at night.

I’m not sure what this is but my guess is that they’re an indicator that we’re on the correct route. If you remember, the trail map assigned the color red to the Main Trail.

From the wooden bridge, I’m now on a forest path and thankfully still guided by the red markings on the tree trunks. The forest here is dense and I realize that without the markings, there is a chance that people might end up getting lost especially if they stray off the path.

I finally heard the gushing of a stream and now found myself at the suspension bridge. The stream here looks so peaceful but this is probably because it hasn’t been raining that hard here yet. With consistent rains, I’d bet the rise in the water level here would warrant the presence of this bridge.

This is where the stream flows down to. It’s actually very nondescript which isn’t really an issue considering it’s not what I came here for.

After admiring the stream for a bit, I was now ready to move past this suspension bridge. I’m not gonna lie, there was an intrusive thought telling me that the bridge might fall anytime. Thankfully, the bridge proved me wrong and I actually had no problems crossing it.

So this is one of the waterfalls that you’ll pass through as you go through this trail. I think this is the Waterfall 1 of 2 designated on the trail map. Take note though that there are a lot of waterfalls in this area though they’re admittedly much smaller than even this so they probably weren’t included in the trail map.

Here’s a closer look at Waterfall 1. It’s actually really nice and even though I’m not getting hit by the water, I still felt somewhat refreshed when I passed this by.

The trek through the trail was going better than expected at this point and we actually managed to cover a lot of ground. The sun was still not rising and I was really feeling good.

As we got close to the junction, I noticed the trees and shrubs were starting to grow more dense. If not for signs like these and the fact that I was following a path, I think there might have been a chance that I’d ended up losing my way here.

I finally reached the junction. From here you can either go up to Latak Waterfalls or head on straight to Nibong Waterfall and Bukit Pantu. I already planned to go up to Latak Waterfalls so I obviously took the concrete steps up.

When you finally get close to the waterfalls area, you’ll see this hut/pavilion. It’s not clearly visible but a little ways off from it there’s a public restroom (you can sort of see the building’s roof in the image) that you can use for changing or doing your “business”.

A couple of steps up from the hut and I’ve now reached Latak Waterfall. They say that this is bar none, the best here in Lambir Hills National Park and I think I see why that might be the case.

The view here is really nice. It’s serene and the sound of the water as it falls down and hits the pool adds to the whole chill vibes. This is one of the cases where the picture doesn’t really do justice to the whole area.

The water under this bridge kind of looks stagnant but it actually isn’t. It does flow but not as fast as the stream that we passed going up here.

I’m not sure how often the park rangers come here but I was a bit disappointed at how the garbage cans here were tipped over. Thankfully, there wasn’t much trash here and even the cottages were actually kind of clean. I also understand that the National Park is quite big and rangers might have other things they’re occupied with in other areas.

Here is a reminder for visitors to leave in the event of bad weather and a warning to accompany children 12 years old and below. You can actually swim here but it can get quite deep past the line in the pool. I personally didn’t swim this time but now that I think about it, the water was so inviting. Perhaps if I visit some other time then I might consider taking a dip here.

Another cottage that seems to have a boarded up entrance. I didn’t get close to it as I didn’t want to get my shoes wet by crossing the stream but my hunch is that it’s for the park rangers and/or lifeguards.

Here’s a final picture of Latak Waterfall. I’ll say this again, the water here really looks inviting. Since we still had a lot of trail to cover though, I had to say goodbye to this place for now.

This was the climb down the stairs to go back to the junction I pictured earlier. From there, we’ll start trekking to Bukit Pantu. Now, the rotting leaves here aren’t really a problem as you really won’t slip on them. I will say though that you need to be a little on the fit side if you want to continue to Bukit Pantu because the trail is going to get a little harder once you get back to the junction.

About halfway through the trek to Bukit Pantu, I came across this waterfall. On the trail map, you’ll find this as one of the markers and it’s called Nibong Waterfall. It’s actually quite nice though not as impressive as Latak.

I tried getting close and took this picture of the waterfall. Since I was a little intrigued, I looked up if there was a term used to describe really small waterfalls like this. Apparently, there is one and it’s called a cascade.

A short trek after going past Nibong Waterfall and we finally reached this junction. From here we’ll have to climb up to reach Bukit Pantu. Now it’s not clearly shown but the trail from here to Bukit Pantu is actually 1.4 kilometers long. Yes, that’s right. You’re going to be in for a fairly long trek here and like I said earlier, you might want to work on your fitness first before deciding to go up.

Let me tell you, getting here was not an easy trek. After what seemed like an okay walk, you’d have to climb a rather steep set of staircases. It was genuinely a relief that I could finally rest a little here in this hut and rehydrate.

Now as for the view, what can I say? It was kind of surreal seeing this sea of trees from this vantage point. Personally, I felt a little insignificant just standing there and thinking how little I am compared to the world.

Another view of the forest canopy down below. Looking back, I actually felt re-energized just by enjoying the view from here. At this point I had already trekked close to 5 kilometers and all the fatigue from that just seemed to disappear. Nature really is amazing!

After another 1.4 kilometer trek down to get back to the junction, we then walked a little of the Lepoh-Ridan trail for a detour down to get to Pantu Waterfall.

The people I was with were really enjoying themselves here after our long trek. The pool is relatively shallow (so there’s no worries about drowning) and dipping here was a great way to refresh. I will say that if you have plans to do this then make sure you bring a change of clothes with you.

While the water here was nice and clear, I didn’t risk drinking it and so should you. Knowing what I know now, you might want to bring around a liter or two of water if you plan to follow the route I took. More than food, water really is going to help you with the trek here.

After resting at Pantu Waterfall, we then headed back to the junction and got on the Inoue Trail to get back to Park Headquarters. Here’s the sign at the exit of the Inoue Trail. In total, the whole trek took around 7 hours to complete.
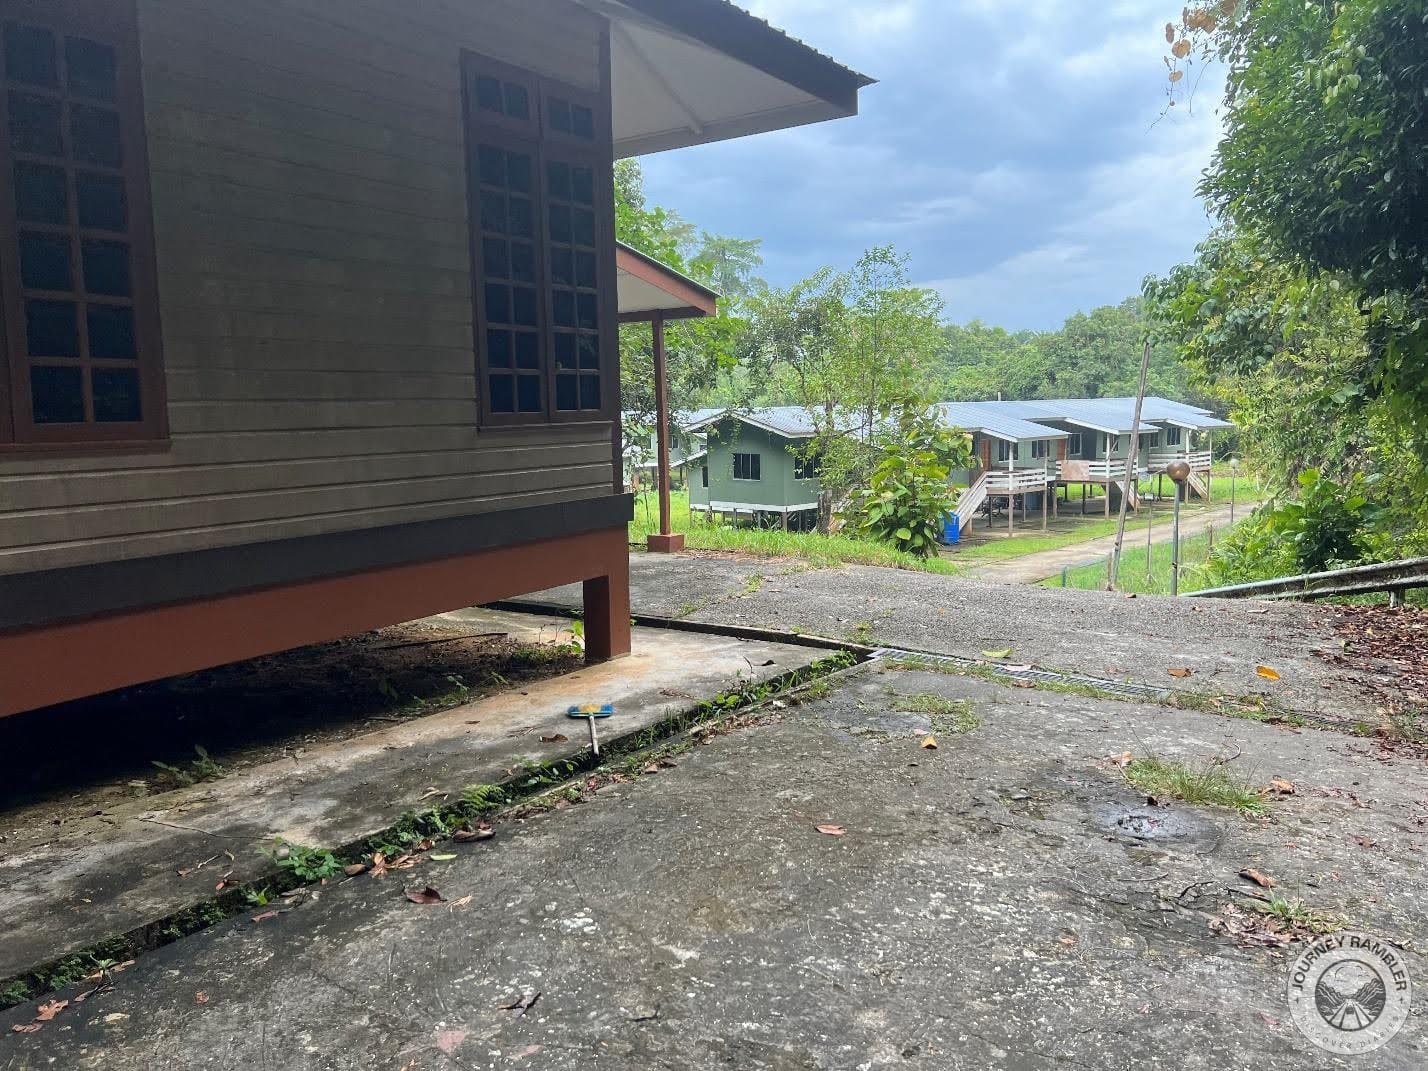
From the Inoue trail exit, you can then proceed to either the available chalet’s here (if there are any) or if you’re feeling a little adventurous, to the camping grounds near the bus stop. You could also get back to your accommodations though if you took the same route as us, then you’re probably going to want to have a rather long rest.

Here’s the final shot of the Inoue Trail exit with a warning for hikers to leave the trails by 4:00 pm. Thankfully we managed to get out way before this time. Overall, the whole trek was really nice. It was a little challenging but I think people who might have no experience can still enjoy trekking here. The trails can be somewhat of an issue if it’s rainy but at that point just get off and wait for better weather (or even better if you check the weather in advance).
If you’re with people you can trust and you prepare for it, the trails here (or at least the ones we took) can be a cinch. And even if you’re an experienced hiker, I think Lambir Hills National Park still has a lot to offer.